Set up The Freestyle projector with the remote
If you're old school and prefer using a physical remote to get things done, you'll be happy to know that you can set up The Freestyle with its included remote.
-
Before you set up the remote, make sure The Freestyle is pointed at a wall so you will be able to see its screen clearly.
-
Connect the included USB-C adapter to the charging cable, and then plug one end into a power source. Plug the other end into The Freestyle, and then tap the Power button on The Freestyle to turn it on.
-
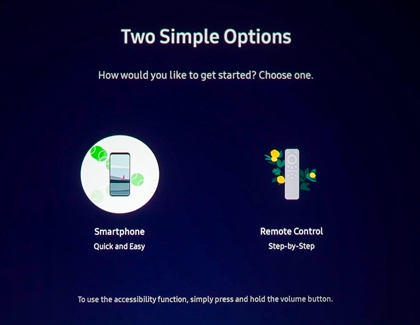
Once The Freestyle is turned on, wait a moment for the image to begin projecting. Select your preferred language, and then select the Remote Control option.
Note: You can also select Smartphone to set up The Freestyle. Please see the next section for more details.
-
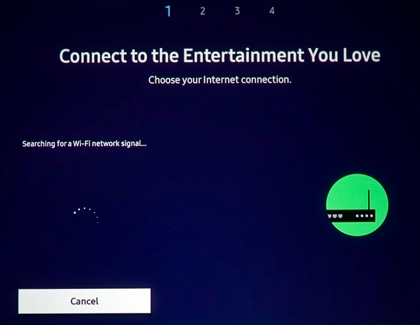
Select your preferred Wi-Fi network to connect to. Enter the password or security credentials for the network using the remote, and then select Go.
-
Agree to the Terms and Conditions by selecting I Agree to all, and then selecting OK. The projector will then search for any available updates and download them if needed.
-
You will be asked to sign in to a Samsung account. Select Use Existing Account if you already have one.
Note: If you do not have an account, you can select Create New Account.
-
Follow the on-screen instructions to log in to an existing account. You can scan the QR code or go the URL displayed on the screen.
Note: If you are having trouble, you can select Sign in another way, and enter your Samsung account credentials using your remote.
-
A message will appear on the screen once you are signed in; select Got It. Choose whether or not you want the projector registered to the current Samsung account being used.
-
On the next page, adjust the available settings. For example, you can back up the projector’s general information if desired. When you're done, select Got It to continue.
-
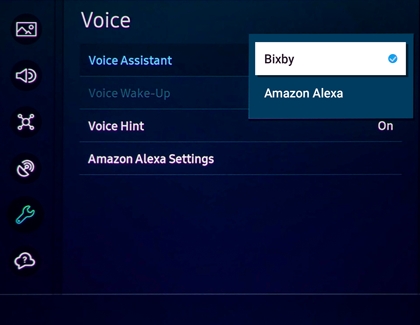
Choose whether or not you want to set up your voice assistant now or later. For this example, select Bixby. Choose your desired streaming services if preferred.
-
That's it: you're finished! Now you can enjoy your new Freestyle projector for movies, games, and more.
https://www.samsung.com/